# Getting Started
In this section we'll walk through the basics of connecting to your Console using the API.
Before being able to use the examples, you're going to need to find out your DOMAIN and AUTH_TOKEN.
# API Details
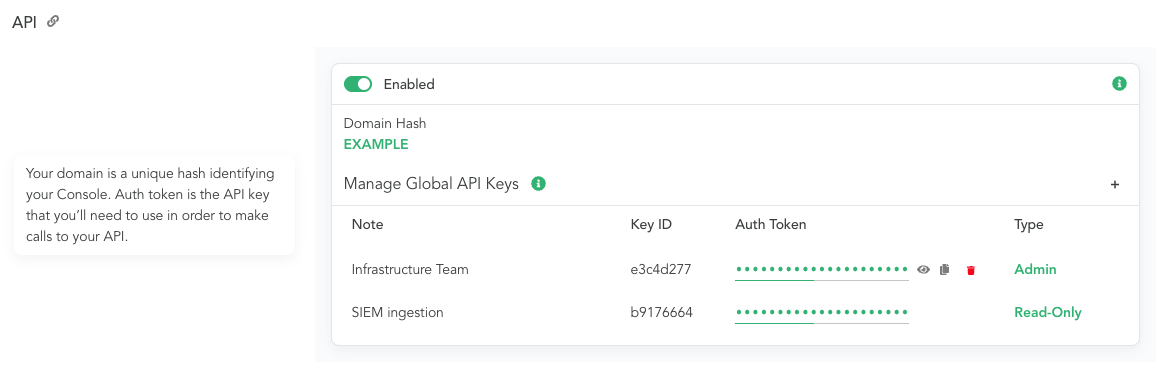
DOMAIN is the unique hash identifying your Console. In our examples, we'll be using EXAMPLE.
AUTH_TOKEN is the API key that you'll need to use in order to make calls to your API. We'll use EXAMPLE_AUTH_TOKEN throughout the examples.
Both of these can be obtained by navigating to /settings on your Console, and looking at the API section.
AUTH_TOKEN can be viewed by clicking the 'eye' icon next to the key. (In the future, the auth_token will only be shown when it is created, so viewing after creation should be considered deprecated)
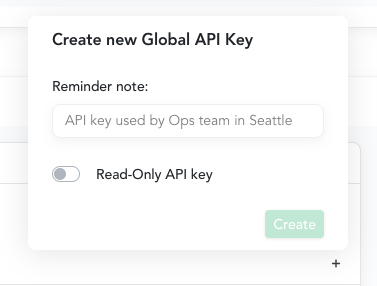
API keys are created with an Admin, Analyst, or Read-Only role and a Note (or Name) to remind you of its purpose. These are fixed at creation. To change these, simply create a new API Key, rotate out the use of the old API Key, and delete the old API Key. Additionally a Key ID will be generated for each API Key that is used to help identify the key used in logs, and for use in key management endpoints.
NOTE: If you had a console key generated before the Read-Only API key feature was released your AUTH_TOKEN will be migrated and assigned a note of Default API Key and a Key ID of ffffffff
# Hello Console
Let's begin by ensuring that we can successfully contact our Console. We can do this by calling the Ping endpoint.
If you see the success result you're good to go!
{
  "result": "success"
}
2
3
If you instead see an error result, you can examine the message field to determine what the cause might be. For example, if you used an invalid auth_token you would see a response similar to:
{
  "message": "Invalid auth_token",
  "result": "error"
}
2
3
4
# API Key as an HTTP header
This documentation defaults to using the API key as a URL parameter, but it can also be specified as an HTTP header.
The header name is X-Canary-Auth-Token, and is case insensitive. Here's how to use the Header authentication option.
{
  "result": "success"
}
2
3
If you instead see an error result, you can examine the message field to determine what the cause might be. For example, if you used an invalid X-Canary-Auth-Token you would see a response similar to:
{
  "message": "Unauthorized",
  "result": "error"
}
2
3
4
# Hello Birds
Now that we know we're able to connect to our Console, let's inspect our Birds.
By calling the All Birds endpoint, we'll get a list of our currently paired Birds.
{
  "devices": [ ... ],
  "feed": "All Devices",
  "result": "success",
  "updated": "Sat, 01 Jan 2000 00:00:00 GMT",
  "updated_std": "1999-12-31 22:00:00 UTC+0000",
  "updated_timestamp": 946677600
}
2
3
4
5
6
7
8